
Welcome to this tutorial for turning your simple title text to rock or stone looking text in 3D. In this guide we will be using Adobe Illustrator in creating this style. This helps you create a vector type art, perfect for scaling these graphics for printed materials such as small booklets and brochures or even large posters, banners and streamers. So just follow the steps below and you will see how you can turn simple typed up text to 3D rock/stone graphics using Adobe Illustrator.
1. Setup a new document or art board to your specified dimensions. For now, keep the background white to make things easier. Just type in the message using the text tool. It is important to choose a font style that is very solid and if possible very stout or fat so that you can make a more convincing 3D rock face.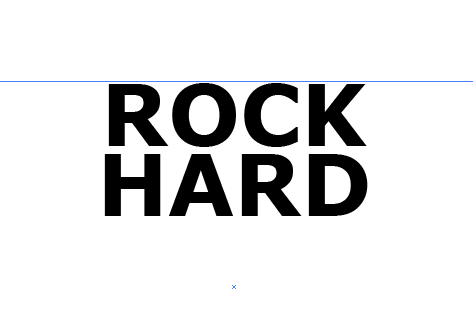
2. Next, select the text and go to Type -> Create Outlines. You should then see the text outlines in your title. Right click on the title and select “Ungroup” to make editing them easier.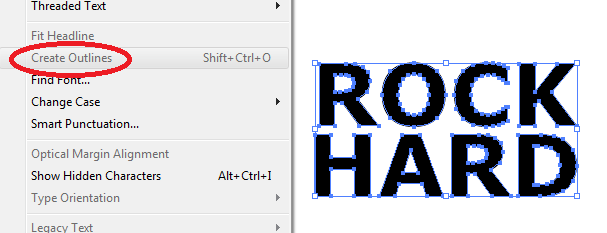
3. Now, we are going to create some breaks, chips or holes in our text. These add the impression that your text is like crumbly rock a bit. To do this, you will want to first create a few random shapes that will be the chips, breaks and holes like so. Merge them if possible by using the pathfinder panel and clicking on the “Unite” option.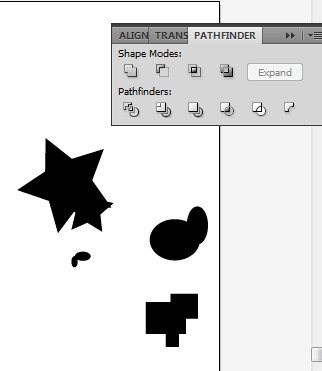
4. Afterward, you will need to distort and cut up these shapes. Use the Add Anchor point tool (Shortcut +) and the Direct Selection Tool (Shortcut A) to distort twist and adjust those basic shapes into more grunge looking spots. Just experiment and be creative.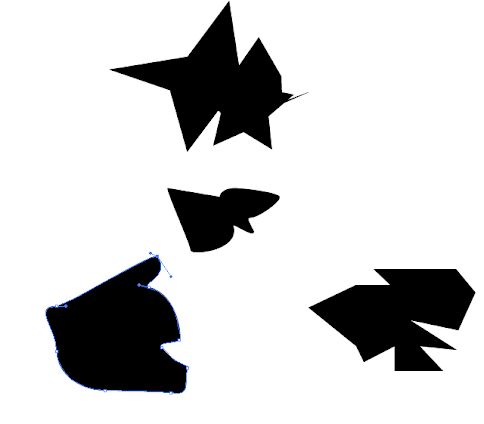
5. Now, to apply some of these spots and cut out our text, simply copy and drag the shapes unto a letter of your text.
6. Then select both the grunge shape and the text and then go to the pathfinder panel. Click on the option “Minus front”.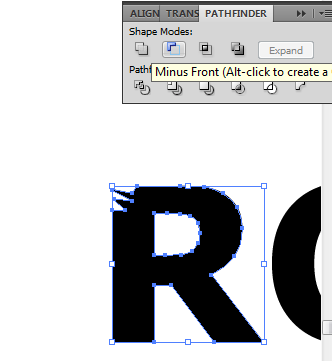
7. You will see that the shape on front will cut out the text shape below.
8. Repeat this step for other spots in your text to make your text title look a bit more crumbly and chipped. Do not overdo this of course. Make sure the shape of the text is still understandable.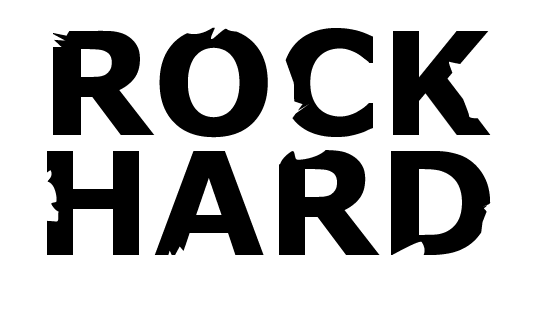
9. Then we will add the 3 dimensional element. To do this, first select all the text characters and right click on them to bring out the context menu. Select “group” to group all the text again.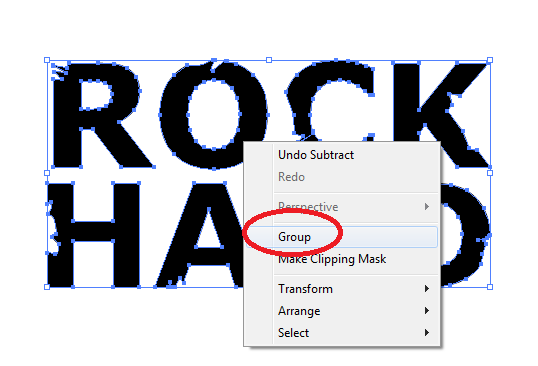
10. Next, go to Effects -> 3D -> Extrude and Bevel.
11. Adjust the angle of the text using the 3D block. Have it facing in front with its back looking extruded at the back of course. Add a very high extrude depth here of around 300-400. Also, use a 111 degree perspective. Once done click on ok.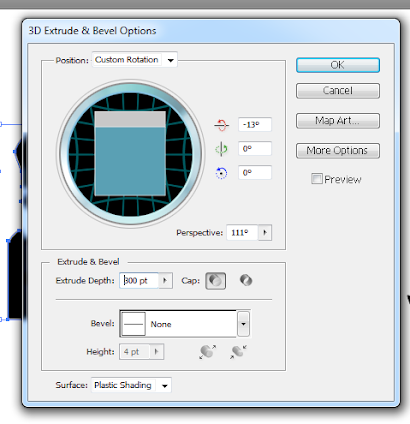
12. Now, depending on the color of your text and its stroke, you will see something like this.
13. To manipulate the different areas of this text and add design styles, first go to Object -> Expand Appearance.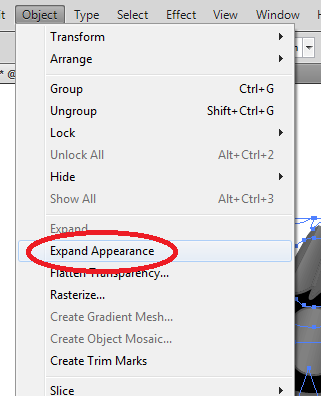
14. Then, right click on the text and select “ungroup”. This lets you select the extruded areas, the type faces, and all the other surfaces in between.
15. If you want the same color style or look for the front faces of your text though, select ONLY THE FRONT of your text shape and then right click on them. Select group now on the context menu. Add the color or color gradient that you want for your text.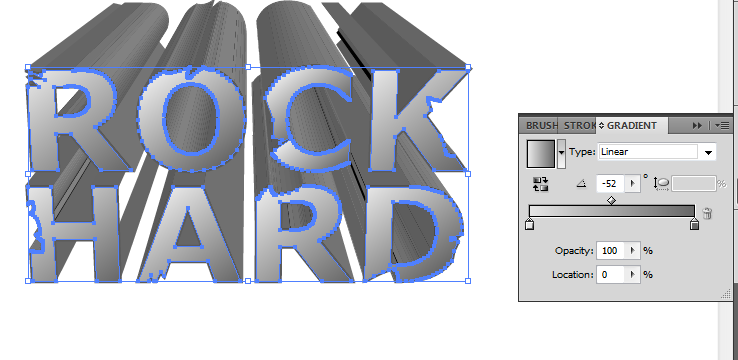
16. Afterward, select the front text part again and copy it by just pressing CTRL+C and CTRL+V. Then with the duplicate go to Effects -> Pixelate -> MezzoTint. Select short strokes as the type for the effect and then press ok.
17. Reduce this shape’s transparency to around 20-30% to add that rock type effect.
18. Then , for the back extruded part of your text, simple select them and then color them up with a color hue that is darker that your front text. Add a slightly lighter stroke to them, with the same grunge brush that you used earlier.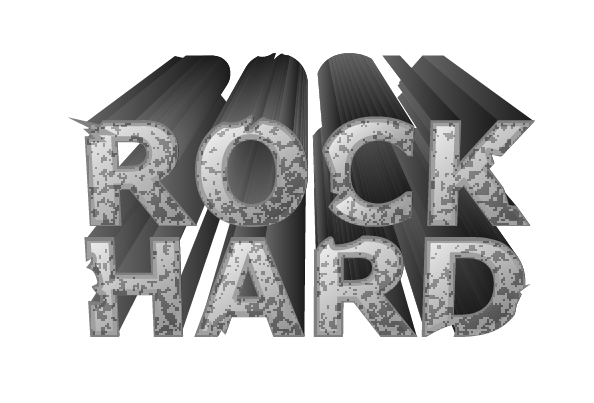
19. The result is a nicely done rock looking 3D extruded text perfect for specialized designs. Congratulations.
You need to be a member of Maoliworld to add comments!
Comments