
Do you need to create your own custom made CD or DVD graphic for your digital or printed copy designs? While it may look complicated, replicating the look and feel of a DVD or CD item is actually fairly easy to do. This guide will show you the step by step process in creating one using Illustrator. So if you need a DVD graphic for your web designs, or print designs for booklet printing and brochure printing, then these are the steps that you should try to follow.
1. With a new document open, select the ellipse tool in the tools window.
2. Draw a circle in your canvass. Make sure it is sized right for your purpose as the base shape for the CD or DVD graphic. To make sure it is a perfect circle, hold down the shift key as you create it.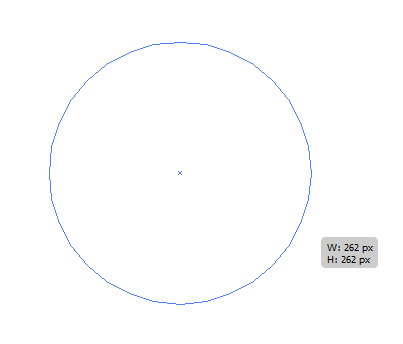
3. Now duplicate this new circle. Just Press CTRL+C and then CTRL+V to create an exact duplicate of our original circle.
4. Next, right click on the new circle and select Transform -> Scale…
5. Scale this new circle as with 95% of the original size.
6. Once done, you will have the smaller circle easily scaled down with the right proportions. Place it at the center of our CD graphic.
7. Next, duplicate the process three more times, using the larger circle as the base. Scale the other circles 30%, 20% and 15% respectively. Position them at the centre to get the desired effect.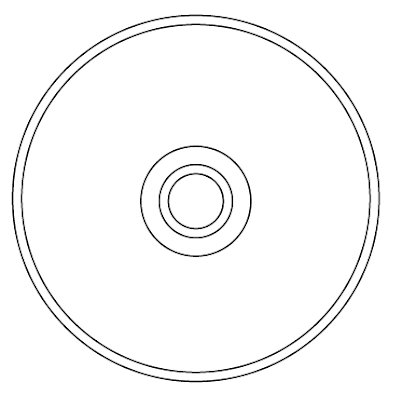
8. Select the second to the largest circle and add the gradient colour in it. Use a white-lightgrey-white gradient combination. Also adjust the degree for the gradient to 45 degrees.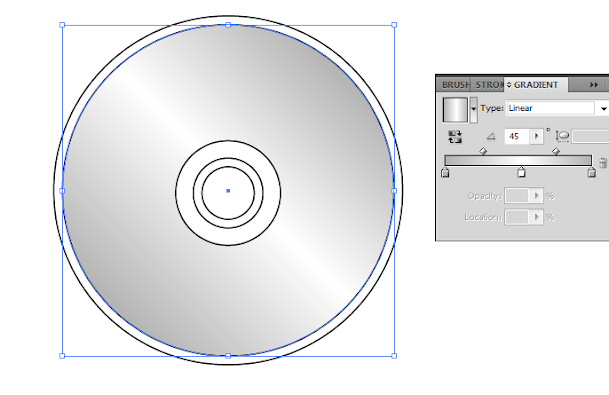
9. For Strokes, Choose a grey 1 pixel for the 2nd largest circle, and a light grey .5 pixel stroke for the largest circle.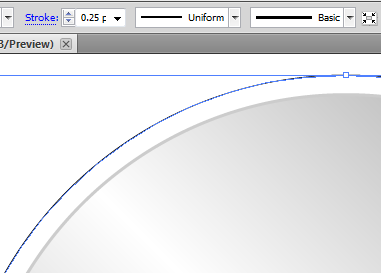
10. Next, for the third circle, add a grey, white and grey gradient colour with 0 degrees angle. Use a 0.5px stroke for this circle.
11. For the fourth circle, use a light grey stroke at 1 pixel, but use a white fill.
12. For the fifth circle, use a light grey stroke at one pixel, but use no Fill.
13. Next, go back to our 2nd to the largest circle and duplicate it. Add a colour gradient with Red, Orange, Yellow, Green, Blue, Indigo and Violet.
14. Send it backward several times. Just right click on it, and then select Arrange->Send Backward. Keep doing it until you have reached this point. If it turned grey, you have gone too far and must bring the circle on layer on top.
15. Next, select Effect -> Stylize -> Feather to make the edges of this circle fuzzy.
16. Choose a 30pixel feather and press ok.
17. Finally, change the opacity of this colour layer. Reduce it to 25%, and use a normal blending method.
18. Once done, you should have a great looking CD/DVD graphic all your own.
19. Do not forget to group this set of circles so that you can easily manipulate them for your purpose. Select all the circles, right click on them and select group.
20. Now you can manipulate them easily. You can try changing their angles, or adding drop shadows. It all depends on your purpose.
You need to be a member of maoliworld to add comments!
Comments